Mold is more than just an unsightly blemish on your walls; it poses serious health risks and can compromise the integrity of your home. Many homeowners, often unaware of the extent of potential mold growth lurking out of sight, find themselves grappling with how to assess their living spaces effectively.
Fortunately, conducting a DIY mold test can be both straightforward and empowering. In this step-by-step guide, well unveil the simplicity of identifying mold in your environment, from gathering the right materials to interpreting your results.
Whether youre looking to safeguard your family or preserve your property, understanding the methods of mold testing can arm you with the knowledge needed to tackle this invisible foe head-on. Ready to take charge? Let’s dive into the essentials of mold testing!
Identifying Potential Mold Growth Areas

Mold testing in Tampa starts with identifying potential growth areas, a crucial first step in your DIY mold testing journey. Begin by examining damp spaces like bathrooms, basements, and kitchens, where moisture tends to linger.
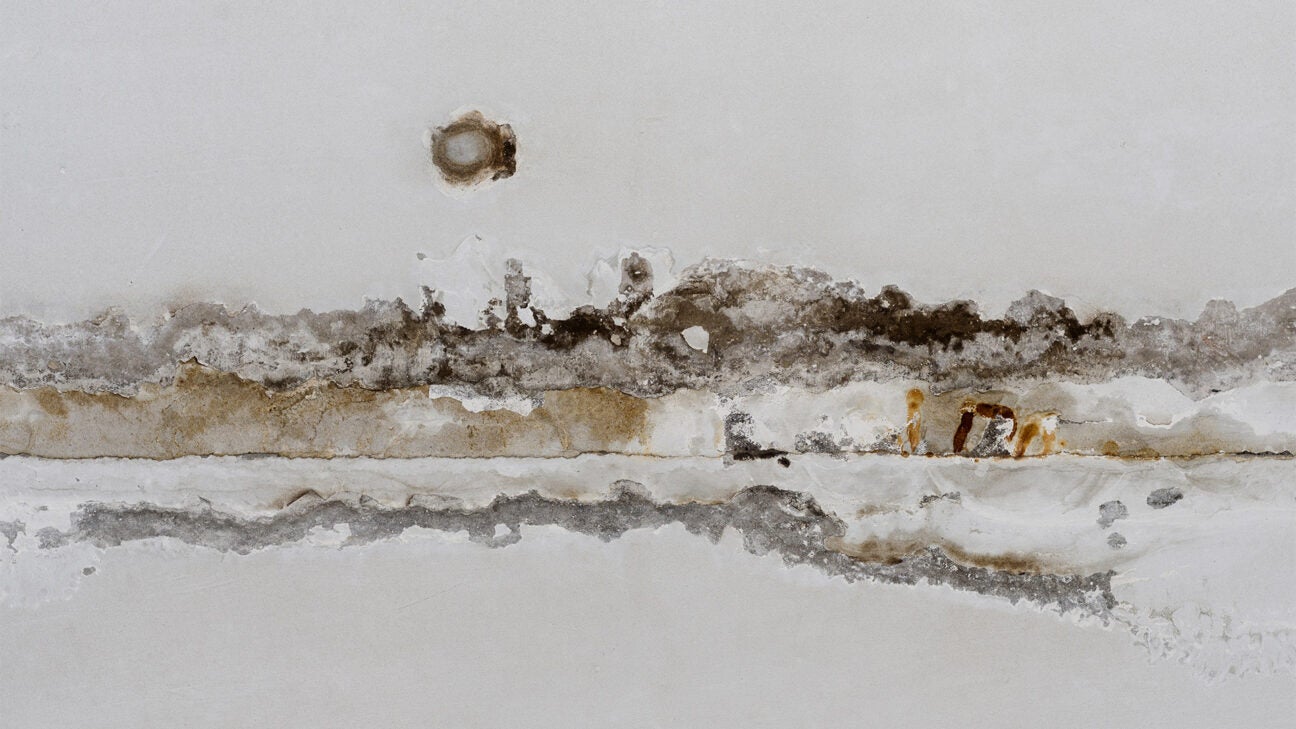
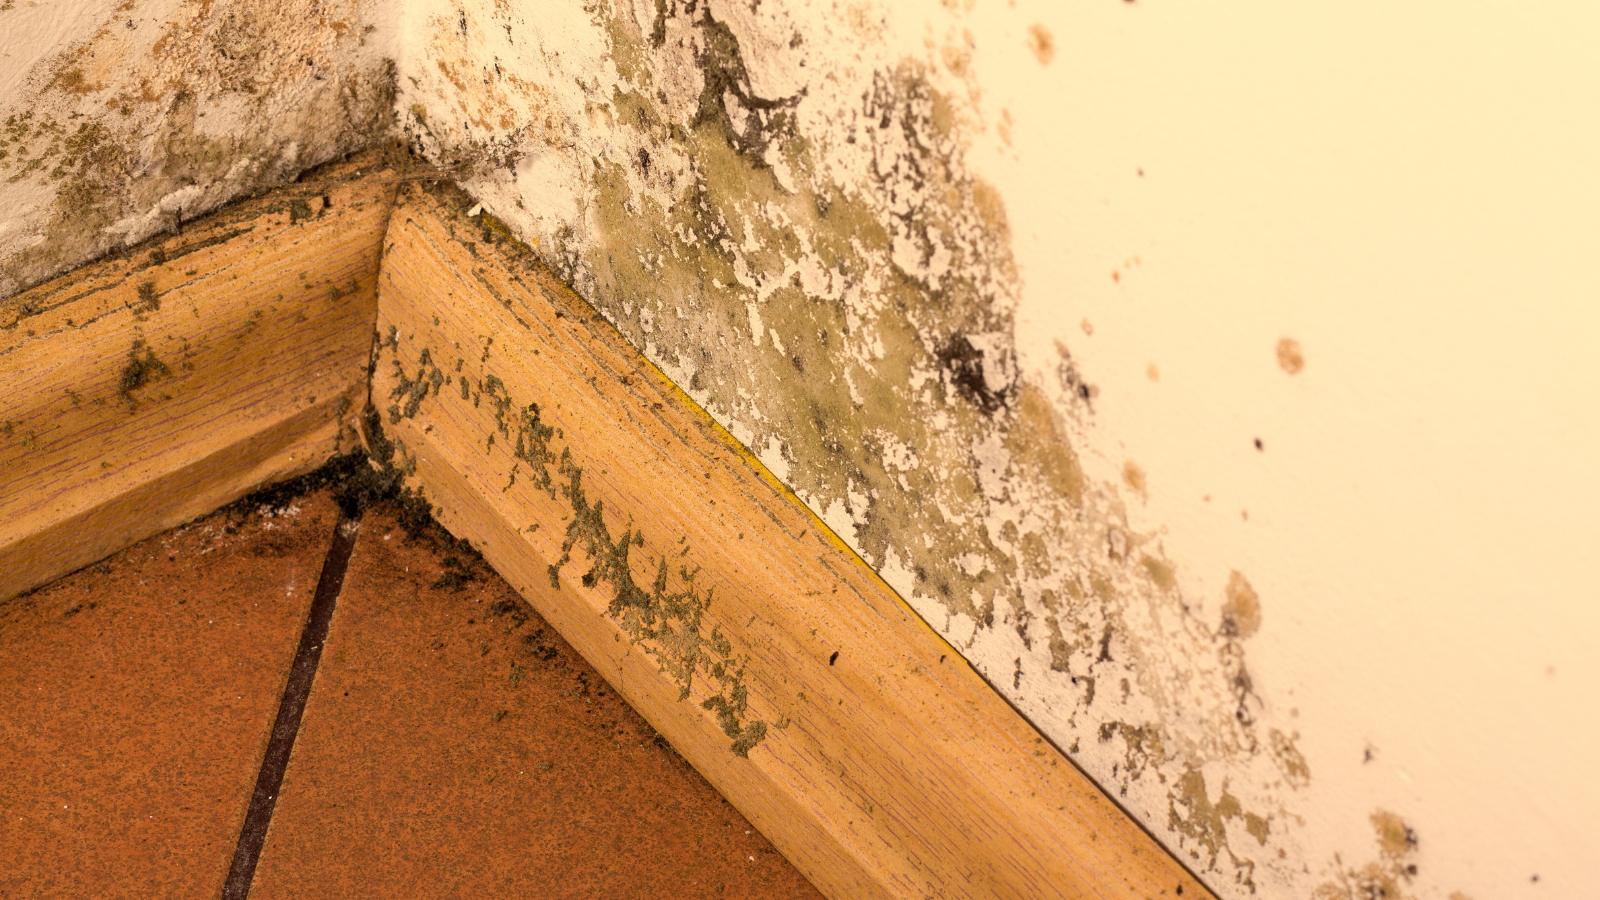
Pay special attention to hidden corners, beneath sinks, and the back of cabinets—these spaces trap humidity and create ideal conditions for mold. Look for signs of water leaks on ceilings or walls, as well as discoloration or musty odors, which often suggest underlying issues.
Remember, mold doesn’t always announce its presence loudly; it sometimes hides beneath wallpaper or inside wall cavities. Being thorough in your search allows you to pinpoint the most vulnerable spots in your home, setting the stage for effective testing and, if necessary, remediation.
Collecting Samples

Collecting samples is a crucial step in the DIY mold testing process, and accuracy here can make all the difference. Begin by wearing protective gear—gloves, a mask, and goggles are essential to shield yourself from potential allergens.
Then, identify areas of your home that seem suspicious: dark corners of the basement, damp spots behind the fridge, or the bathroom where moisture lingers after showers. Using a clean, sterile container, carefully scrape a small amount of the moldy surface; this could be a piece of drywall, wood, or fabrics.
For air samples, employ a petri dish with a suitable growth medium, leaving it open for a set period to capture airborne spores. Remember, handling these samples with caution is vital—theyre not just evidence; they are a potential health hazard.
Once gathered, ensure they are sealed tightly and labeled clearly, ready for analysis. Your diligence now will pave the way for accurate results later.
Using a Mold Test Kit

Using a mold test kit can be an empowering first step in assessing the air quality of your home. These kits, which are readily available in hardware stores or online, typically come with clear instructions and necessary materials for sampling.
Begin by choosing an area that feels damp or has visible mold; this might be a bathroom corner or a basement wall, for instance. Carefully follow the kit’s directions, as collecting air or surface samples incorrectly could skew your results.
Some kits may require you to wait a few days for laboratory analysis; this adds a layer of anticipation, doesn’t it? Once you’ve sent off your samples, prepare to receive insights that can inform your next steps—be it a thorough cleaning, calling in a professional, or taking preventive measures to safeguard your home.
Conclusion
In conclusion, conducting DIY mold testing is a proactive step in ensuring that your living environment remains safe and healthy. By following the outlined steps meticulously, you can effectively identify mold presence and take appropriate measures to address it.
Whether you’re a homeowner or a renter, understanding how to test for mold can empower you to maintain a clean space and mitigate potential health risks. For those located in regions like Tampa, where humidity levels can promote mold growth, the insights shared in this guide are particularly valuable.
Remember, while DIY testing can provide initial insights, seeking professional assistance may still be necessary for comprehensive remediation and safety.


